Holiday décor is unique to every home. Along with creating traditions like decorating with all-white lights or sprucing up your space with a rainbow of vibrant colors, carefully selecting the perfect Christmas tree can add the finishing touch to your display. But there’s a lot more to choosing the right tree than picking out the ornaments and garlands that will decorate it from top to bottom: Selecting this Christmas staple comes down to the size of your room, the height of its ceilings, and finding the best placement for a natural-looking fit.
Want to learn the best secrets to choosing and styling your Christmas tree? Use these tips and design ideas in our guide to measuring, buying, and bringing home your holiday tree.
1. Start With Placement
Before you go shopping for a Christmas tree, it’s important to first determine a location in your home that’s both suitable and safe to display it. Avoid placing your tree near a heat source (sunny windows, radiators, heating vents, and fireplaces). Try to keep it out of high-traffic areas where it might be bumped or overturned, or where someone in your household could trip over the tree’s light cords. Avoid any spot that might be dangerous, such as next to a fire in the fireplace or placed atop a wobbly table.
2. Measure the Space
Once you’ve chosen a safe spot in your home, it’s time to measure the room. Determine both the ceiling height and width of your space. Write these numbers down for safekeeping and bring them along when you begin to shop. If you have a special Christmas tree topper you plan to use, be sure to measure its height as well to factor in its size with the total height of the tree you choose.
3. Take a Tape Measure With You
While some Christmas tree farms mark the heights of their trees on each tag, it’s best to bring your tape measure with you to shop. Use it to measure the overall height, width, and trunk diameter of various trees until you find the perfect fit for your space. If you’re planning to use a tree stand you already have from previous years, ensure the trunk diameter can comfortably fit and be tightened within the stand. As a general rule of thumb, choose a tree about six inches shorter than the height of your ceiling (or less, depending on the size of your tree topper).
4. Prepare Your Supplies
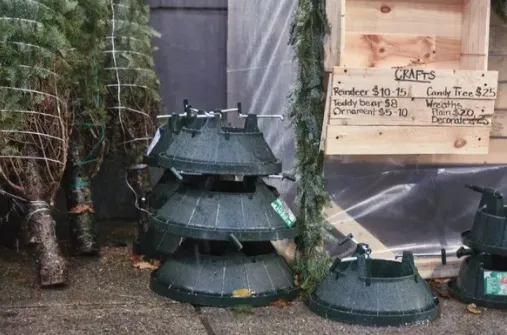
Take heavy gloves to protect your hands when loading the tree into (or on top of) your car. Bring an old blanket to protect your car from pine needles and sap. Take twine or rope to tie it securely to the car—some tree farms will provide this, so you can call ahead to know if it’s necessary to bring. Locate a saw and bucket to prepare the trunk to drink fresh water once the tree is home. Find your tree stand or determine if you need a new one.
5. Choose the Right Tree Stand
If you’re choosing a new Christmas tree stand, consider the height of various stands in comparison to the height of your ceiling. For instance, if your ceilings are nine feet tall, the room can accommodate a seven-foot tree with a one-foot stand and a six-inch tree topper decoration. The height of your tree will also influence the stand’s diameter size: The taller the tree, the larger the diameter of the trunk. Select a tree stand that is suitable for the height, width, and trunk of your tree. In addition to finding the right size, ensure the stand of your choice is sturdy, adjustable for leveling the tree, and can hold plenty of water.

6. Select a Tree Variety
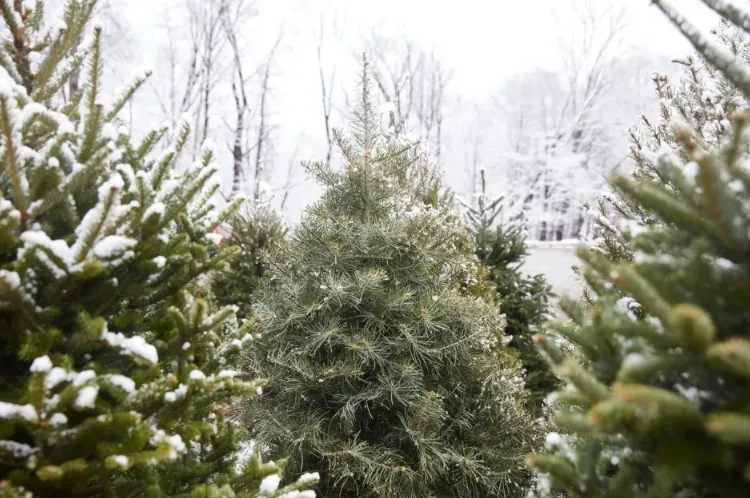
Evergreen trees with shorter needles (such as Fraser or Noble Fir) are often easier to decorate than others, as they offer some space between branches for decorations as well as stronger stems that can hold heavier ornaments. Learn more about the many types of Christmas trees and determine the characteristics and uses for each variety that best suits your needs.
7. Look for Space Between Branches
Keep in mind that Christmas trees look best when the ornaments hang straight. Many common trees are groomed to be lush and full, so be aware that ornaments may hang at an angle on these sheered options. For the ornaments to hang straight, choose a tree with some space between the branches. When shopping for trees, take an unbreakable ornament with you to hang on several branches and ensure there’s room for it to hang straight.

8. Select a Fresh Tree
While many trees look green and lively, some might already be drying out at the farm. Determine if your tree is fresh by pulling lightly on a branch. The needles should look shiny and green—not dull or brown—and no needles should fall off when you do a pull test on branches.
9. Transport Your Tree
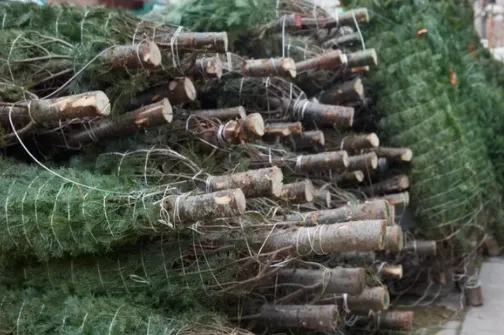
If possible, lay the tree inside your car for the drive home—though this might be difficult unless you have a large van or SUV with an open-access trunk. If you drive the tree home on the roof of your car, you must tie it securely to the vehicle. Wrap it in a tarp or old blanket to protect the needles from wind and debris while driving.
10. Make a Fresh Cut
Once the tree is home, prepare it to display. Using your saw, cut off the bottom half-inch to inch of the trunk. This allows the tree to begin soaking up water immediately and removes any calluses that may have formed on pre-cut trees at the farm.

11. Choose the Right Height
Depending on your ceiling height, measure and cut more off the bottom of your tree as needed to get the perfect fit for your space. If you’re not displaying the tree inside your house right away, stand it in a bucket of warm water in the corner of your garage, sheltered patio, or basement away from direct sun.
12. Get a Stable, Level Fit
Once you’ve chosen the correct tree height, it’s time to ensure your stand is ready for a stable fit. Your tree should stand perfectly vertical; if your floors are thick or uneven (especially with carpeting), you may need to put down a piece of plywood so the tree stand sits on a flat, level base.
13. Protect Your Floor
Place plastic or other waterproof covering on the floor where your tree will stand. This protects the flooring—whether carpet, hardwood, or even rugs—from watermarks that can cause damage.
14. Secure the Stand to a Base
If you have a very large tree or are worried about it tipping over, attach your tree stand to a large, flat piece of plywood before placing the tree in the stand. This will broaden the base of the tree and add more stability.
15. Place the Tree in the Stand
To keep loose needles off your floor, you may wish to put the tree in the stand outside. Whether you install it inside or out, start by tipping the tree on its side and having a friend or family member tighten the stand’s leveling clamps around the base of the trunk. Next, lift the tree to a standing position, taking care not to damage the tree stand’s feet. Make any adjustments with the tree in vertical alignment so it stands straight. Finally, carry your tree (with the stand attached) inside and place it in the spot of your choice.
16. Adjust the Top
Now that you’ve chosen the perfect tree and installed it in your home, you may need to make small adjustments to its top (depending on your ceiling height and the size of your topper décor). If your tree is too tall, clip away any stray branches that may be in the way, but avoid chopping off the tallest vertical branch until you’ve determined the exact height it needs to be. This is usually a stiff branch, and it will be a steady foundation for your treetop decoration. Use any clippings you may have to decorate your mantel or to make a centerpiece.
17. Trim Any Stray Branches
If any of the lower branches look imperfect or hit your furniture or walls, trim them off. Try to trim at an angle that is parallel to the floor so cuts are less noticeable. Use these extra boughs and branches to style your mantel or table, keeping them in water for freshness until you arrange them.
18. Water Thoroughly
Always keep your fresh tree in a stand that holds lots of water. Check the water level daily. For the first few days, you may even need to refill the water every few hours (set a timer to remind you to check it). After about a week, the water intake will slow down, and daily refills should be plenty to keep your tree healthy.
19. Consider Additives
Plain water is all you need to keep your tree fresh, but there are water additives and sprays you can use that promise to keep trees fresh longer. Purchase additives at your Christmas tree farm or visit your local garden center to browse various options.
20. Learn the Best Watering Practices
The best way is also the hardest way. You’ll need a few towels, a water jug, and some patience. Climb in close to the tree stand. If you can’t see the water level, place one finger into the water reservoir and begin to add water slowly. (A watering can with a long spout is helpful.) Stop adding water when you feel the water reach your finger. Wait a few moments to make sure no water leaks onto the floor.
21. Secure It
If you have children or pets running around and are concerned about them knocking the tree over, secure it to a wall or a stable piece of furniture. Tie it securely in several places with fish line, twine, or cording attached to small eye hooks. Be sure that the tie lines are out of reach and won’t pose any danger to children or animals.
22. Decorate
Whether you choose to decorate with a theme, a modern array of ornaments, or trim your tree with a mixture of old and new pieces, your evergreen is sure to look fantastic. Make your tree feel unique to your household and enjoy the process.
23. When Christmas Is Over, Recycle
Call your waste management company or city hall to find out how to recycle your Christmas tree for mulch.
24. Refrain From Burning
You should never burn your Christmas tree or branches, as this could present a severe fire danger. Dispose of your tree according to local regulations via trash collection, chipping for mulch, or recycling.
Original article HERE
By Coral Nafie for The Spruce, 11/16/2021
For more information, please contact us here.


